The Banner Ads section in Testpress helps you promote important updates, courses, offers, or announcements directly within your platform. By using banner ads, you can grab learners’ attention with visual content and guide them to a specific page using a clickable link.
Banner ads are especially useful for highlighting new course launches, limited-time offers, important notifications, or featured content, ensuring better visibility and engagement.
How Banner Ads Help
Highlight key announcements or promotions visually
Drive traffic to specific pages using clickable URLs
Improve learner engagement within the platform
Manage and update promotional content easily from settings
Step 1: Go to Banner Ads Settings
Navigate to Settings in your Testpress admin panel.
Click on Banner Ads from the menu.

This section displays all existing banner ads and allows you to create new ones.
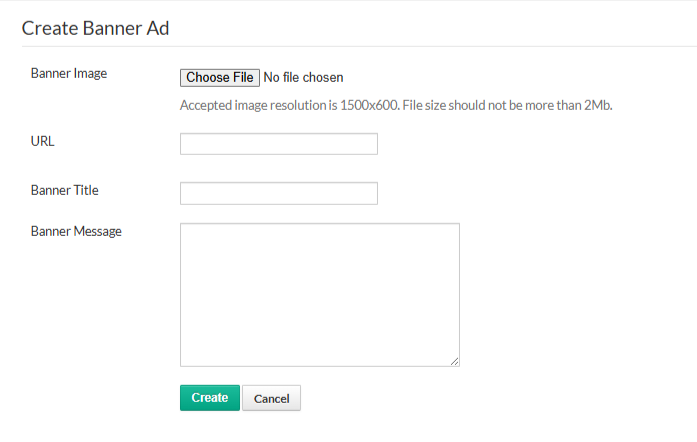
Step 2: Create a New Banner Ad
Click the Create button.
Upload a Banner Image (recommended resolution: 1500 × 600 pixels, file size up to 2 MB).
Enter the URL where users should be redirected when they click the banner.
Add a Banner Title to briefly describe the banner.
Enter the Banner Message to provide additional context or call-to-action.
Click Create to save the banner ad.
Once created, the banner ad will be displayed to users based on your platform’s configuration.
Was this article helpful?
That’s Great!
Thank you for your feedback
Sorry! We couldn't be helpful
Thank you for your feedback
Feedback sent
We appreciate your effort and will try to fix the article